

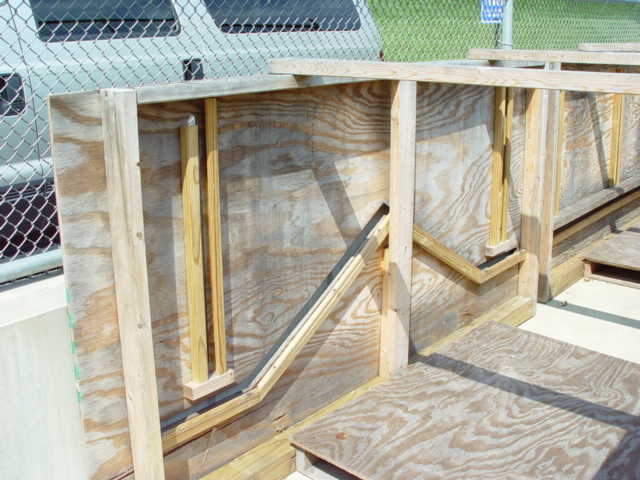

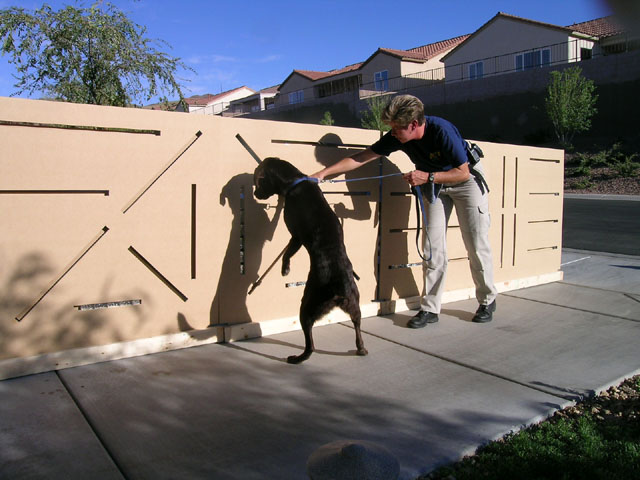
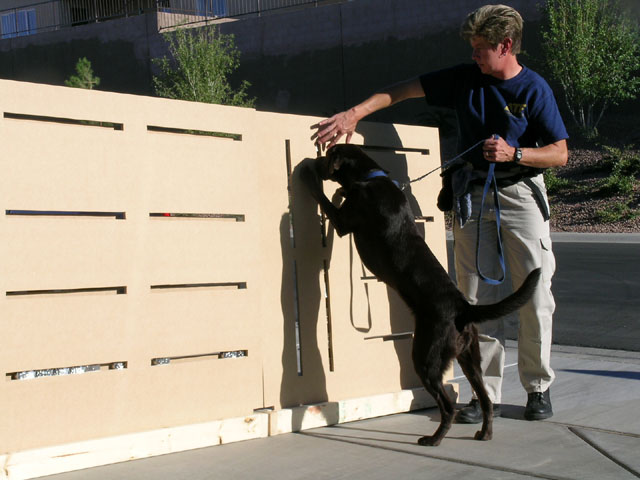
The seam wall is basically a wall of plywood with slots cut into it. On the backside of the wall, behind the slots, are small ledges made to hold tiny containers containing substances with different scents. These containers are placed in different locations on the varying ledges so that the detection K-9 can be trained to search in different ways. It is helpful for the canine handler to be able to train the dog to search vertically instead of always checking items placed on the ground.
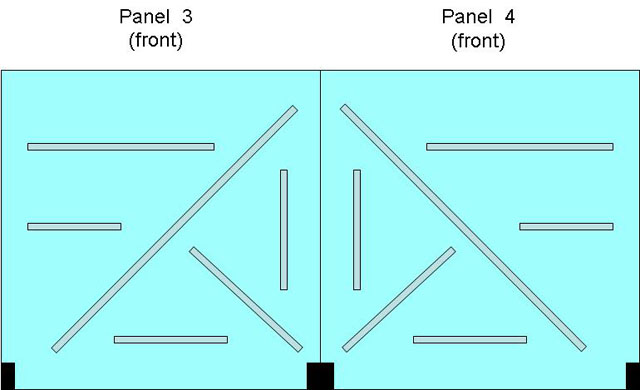
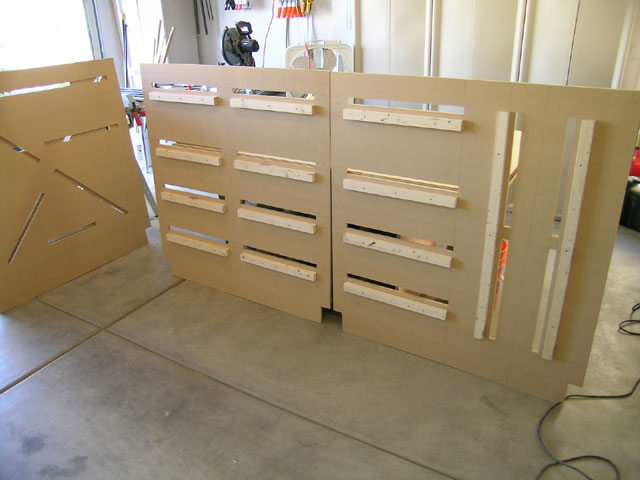
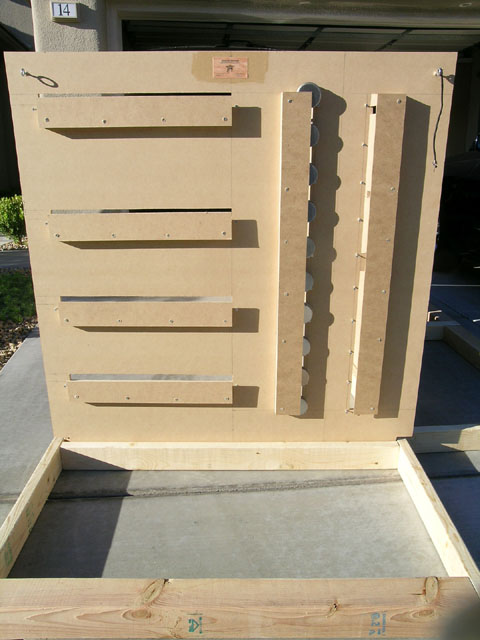
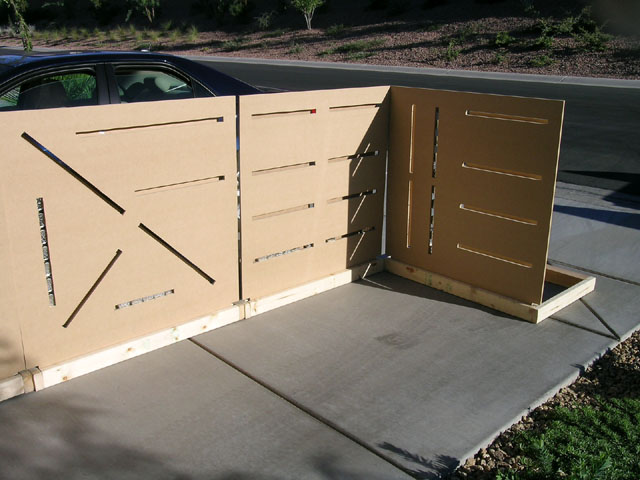
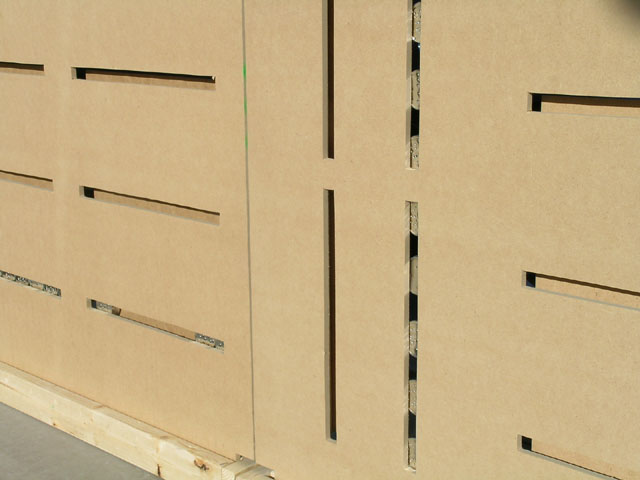
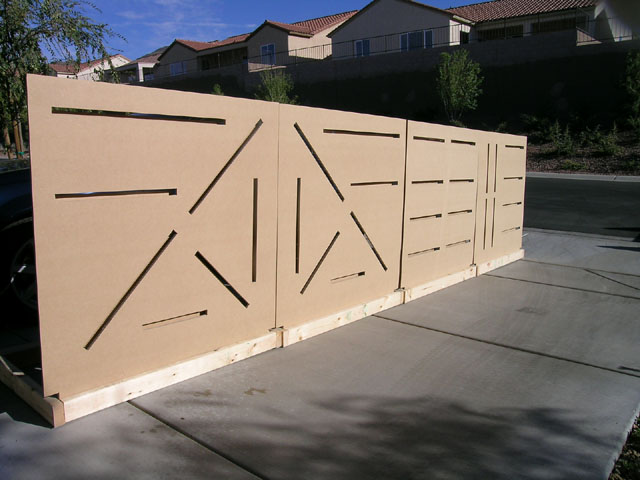
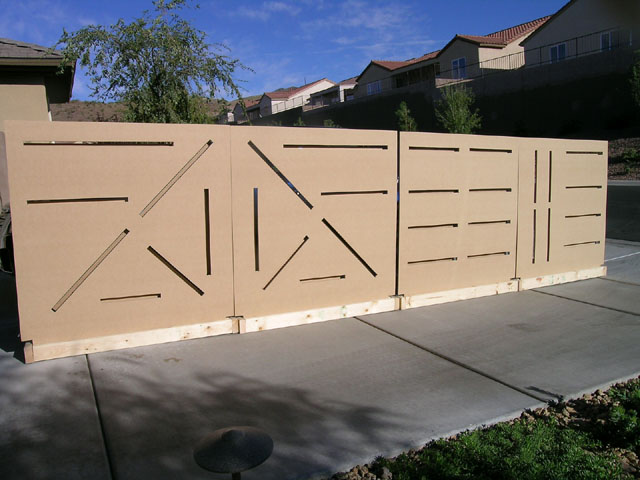
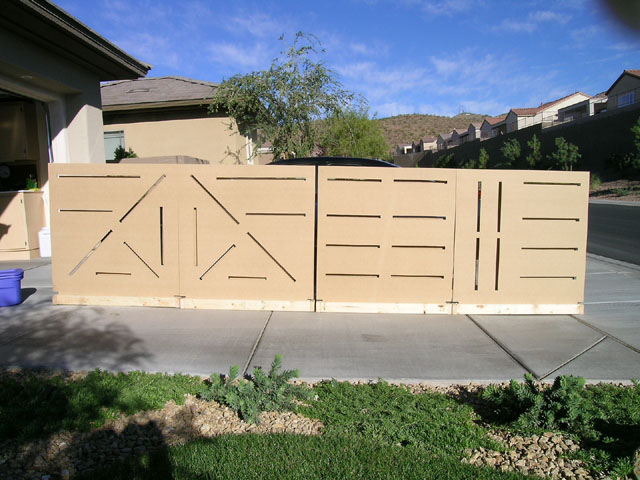
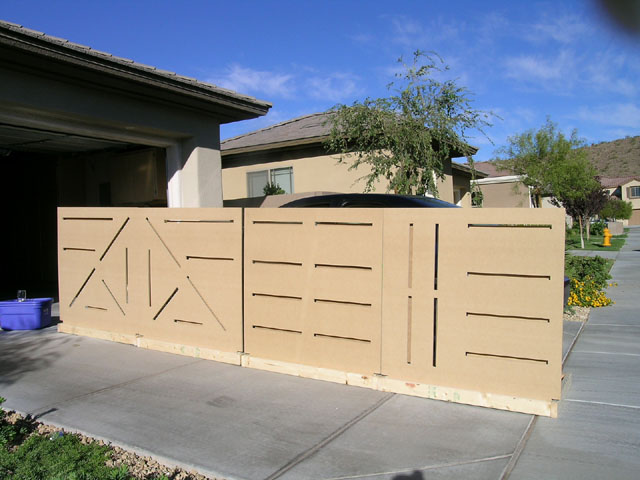
I came up with a few modifications for my version of the seam wall. First, I made 4 sections and I made them 4'x 4' instead of 4'x 8'. This will make them easier to move around and will also allow Lauren to arrange the sections in different orders. I also added a greater variety of slots in the walls. This should give Lauren greater flexibility in arranging the patterns of the scent containers. The images below show the pattern I designed for the various slots on the four sections of wall, as well as some shots of the wall being built.


The design of the base supports for the walls was also critical. My initial design called for the wall sections to be placed into bases constructed of 2"x 4"'s. A single 2"x 4" was placed in front of the wall and another behind it and these were connected by 2"x 4" crosspieces at the ends. These crosspieces extended 2' in front of and behind the wall. From above, the design looked like a very wide letter H.
However, I modified this design because Lauren explained to me that, when training Joe, she walks backward in front of him. Therefore, the fact that I had pieces of 2"x 4" sticking out where she would be walking would be inconvenient, at best, and possibly even dangerous. My new design had the crosspieces extending only rearward from the wall. Now that there was no support in front of the wall, Lauren could safely maneuver in front of it even while walking backward. However, I then became concerned that the weight of the wall might cause it to fall forward on its face now that there were no supports extanding forward. To ensure that the weight of the wall did not cause this to happen, I connected the rear ends of the crosspieces with a piece of 4"x 4" as a counterweight.
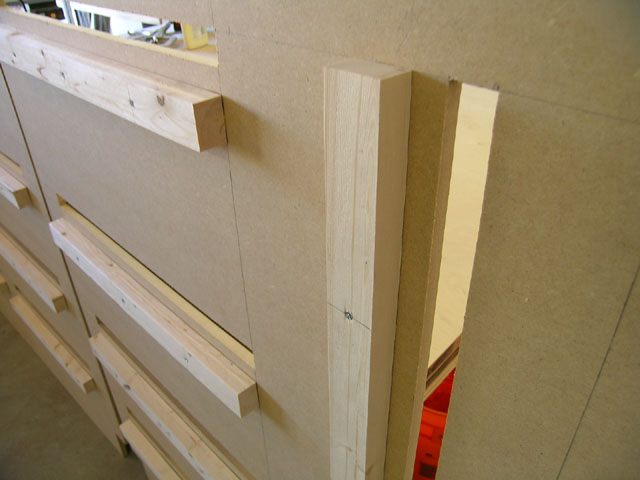
The bottom corners of the wall sections are also notched so that the wall itself extends to the edges of the base. This allows for the wall sections to be placed beside each other without substantial gaps between them. The sections can even be placed at 90-degree angles to each other to simulate a corner of a room.
I also wanted the design to allow Lauren to utilize as much of the vertical and diagonal slots as possible. I simply used screws as pins to stop the scent containers from falling or rolling off of their ledges.

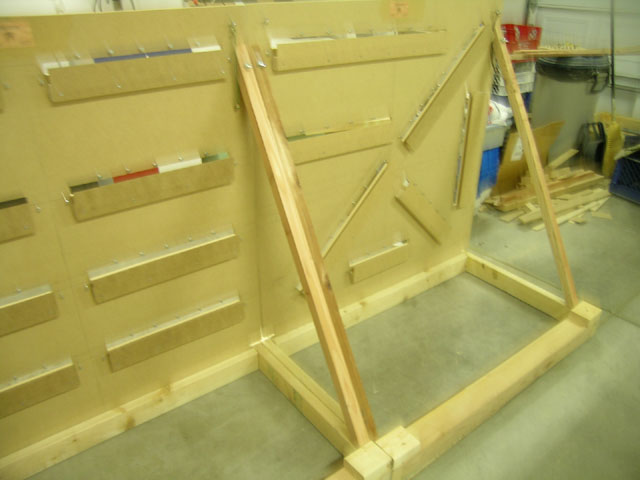
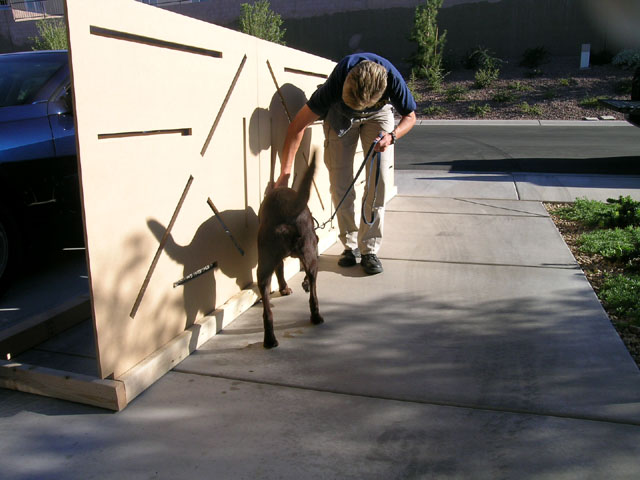
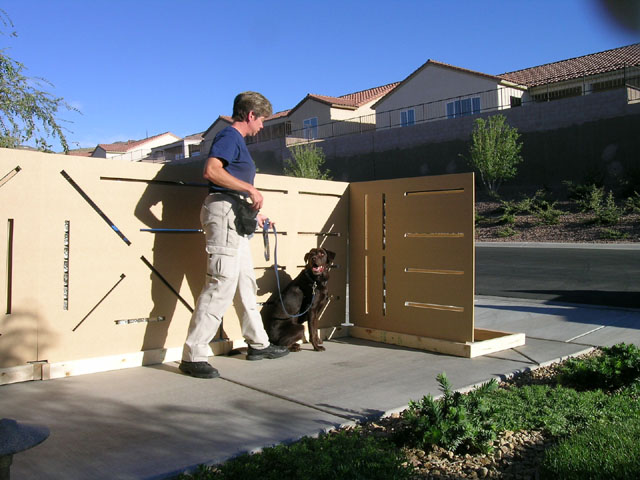
Once Lauren and Joe began using the seam wall, they realized that the upright sections needed to be braced more strongly. The upright sections do fit very snugly into the base sections. But sometimes Joe would put his front paws, and his weight, up against the wall while he was searching. At those times, the wall would be forced back and really needed a better bracing system.
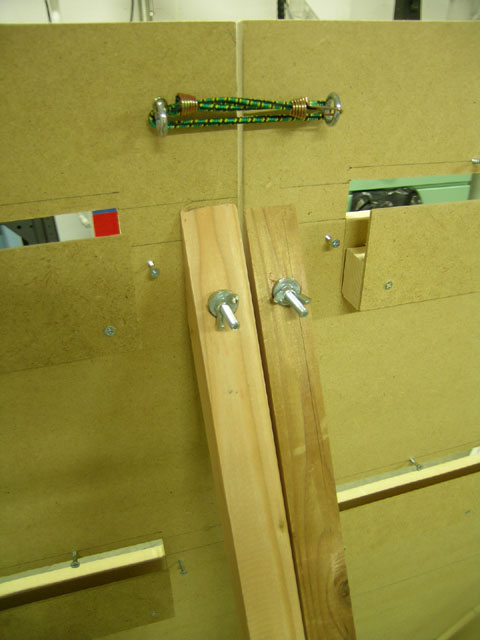
So, I added some support arms that quickly and easily attach to the back of the upright panels. These arms are removable and that still allows for easy storage of all the parts. The arms are 1" x 1" and approximately 48" long. They are angled on both ends so they can rest flat against both the wall and the base. The arms are attached to the wall by a carriage bolt that slides through the wall from the front, then through the arm, and is then secured with a washer and wing nut. In order to allow the washer and wing nut to rest flat against the surface of the arm, I used a forstner bit in my drill press to make a flat-bottomed area around the through-hole.

I also added eye-bolts to the upper left and right corners on the back of each panel. I attached a small bungee cord to the eye bolt on the upper right corner of each. This cord can be quickly used to secure the panel to the one next to it. This helps provide a more stable wall, and also a smoother front across which Joe can search.

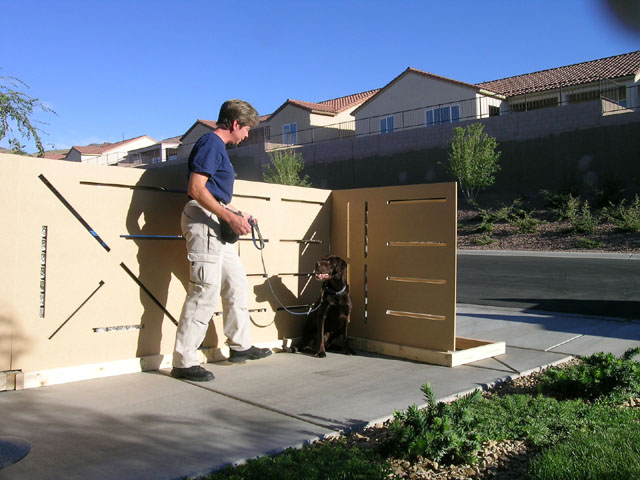
This project turned out very well and Lauren seemed pleased with the result. It took an entire weekend but was an interesting and different type of project. (Cutting all the slots was also great practice with my jig saw.) Below are several more photos of the finished product and some of it in actual use with Lauren and Joe. I hope you enjoy the photos.


UPDATE:
On August 13, 2006, Lauren and Joe were featured in a newspaper article in the Las Vegas Review-Journal. The photo below, showing the seam wall that I built, was one of several photos used with the article.