My friend, Dan, and I worked on these cabinets together.
They were built for a friend of mine who wanted to better organize her garage.
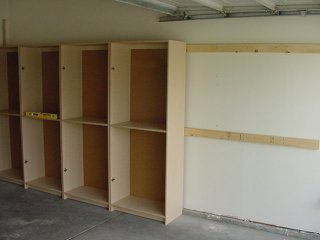
There are six cabinets, each measuring 30” wide by 15 ľ” deep by 6’6” tall.
They are made from ľ” particle board that is laminated with an oak veneer.
Each cabinet features two fixed shelves, which are set into dadoes, and two
adjustable shelves, which rest on removable pins. The bottom shelf of each cabinet
is 3” above the ground and is also supported by a toe-kick that is set 2” back from the front edge
of the cabinet. The center fixed shelf is 40 ˝” above the ground, exactly halfway between
the top and bottom of the cabinet. There is also a two inch tall support directly beneath
the rear edge of both the center shelf and the top of the cabinet. These supports were
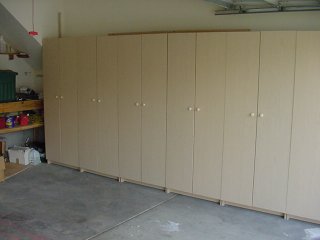
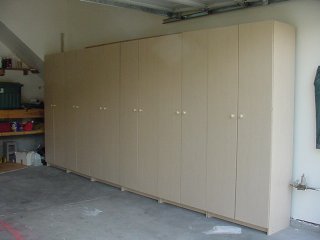
necessary to help secure the cabinets to the garage wall. The full-overlay doors are
secured with European-style hinges that separate to allow for easy installation and removal
of the doors.
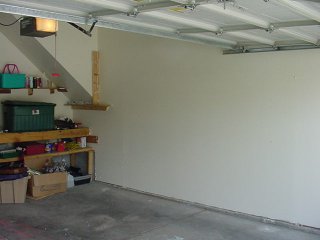
The installation of the cabinets was a little tricky since the garage floor had
quite a slope to it. First, we secured some 2”x 4”s to the garage wall. These ran
the full length of the cabinet (15 feet) at heights of both 40” and 78”. These heights
correspond to the heights of the supports mentioned earlier. Then, one by one, the
cabinets were set into position, checked for level, and then secured to the 2” x 4”s using
four 1˝” screws (two in each support). In order to make the cabinets as level as
possible, several of the cabinets had to be adjusted using shims underneath them.
One of the jigs we created for this project was a
router dado jig to help us line up for all the dado and rabbet cuts
we needed to make. This jig is a very simple one and is identical in design to the
circular saw jig that I built some time ago. The jig is merely two pieces of wood glued
together, one atop the other. The bottom piece is the base and will line up exactly along
the line you wish to cut. The top piece is kind of a fence that the router travels along
to maintain a straight line. The bottom board is kept a little too long when the jig is
built and then cut to exact length the first time the jig is used. After that, you just
line up the jig along the outside line for your dado and your cuts will be right on target.
This jig will only work with a ľ” straight cutting bit, which is what we used to cut all
our dadoes. Since using ľ” material is so common for shelves and other projects requiring
dadoes, this jig will be very useful for a long time.